FIND YOUR WINDOW INSTALLER
 INFO@GEALANWINDOWS.COM
 (740) 670-2969
How Are New Windows Installed?
Installing new windows is one of the most valuable home improvement projects you can tackle. Whether you’re upgrading to boost energy efficiency, replacing outdated, drafty windows, or simply refreshing your home’s style, the process can make a significant difference in comfort and curb appeal.
Understanding how windows are installed will help you feel confident and prepared for the transformation. This guide will walk you through the step-by-step process of how new windows are installed, from preparation to finishing touches.
Step 1: Preparing for Installation Day
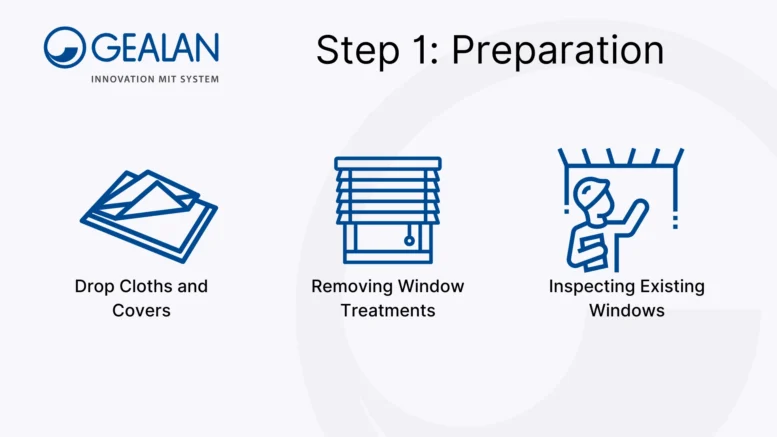
A well-prepared space ensures a seamless and stress-free installation process. Here’s how installers get things ready:
- Protecting Floors and Furniture: Drop cloths are spread over floors, and furniture near the windows is covered to keep dust and debris at bay.
- Removing Window Treatments: Curtains, blinds, and shades are taken down to provide clear access to the windows.
- Inspecting the Existing Windows: Installers carefully examine the current window frames and surrounding areas to check for signs of rot, water damage, or wear. This helps determine whether a full-frame or insert replacement is the best approach.
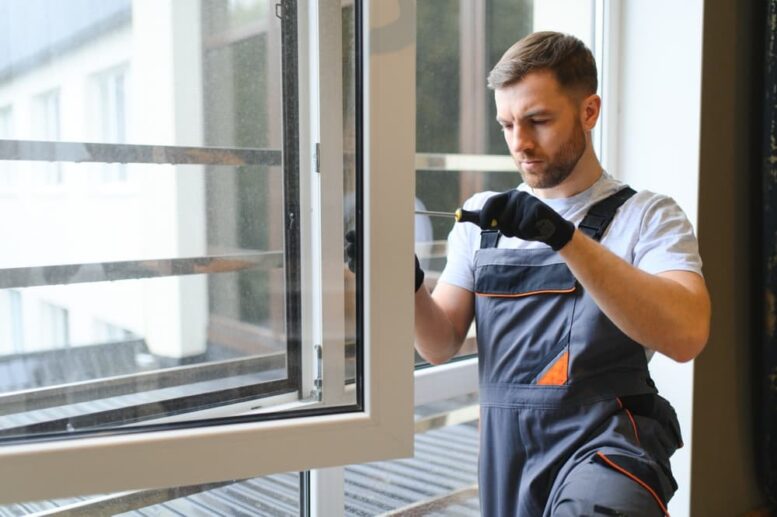
Step 2: Removing the Old Window
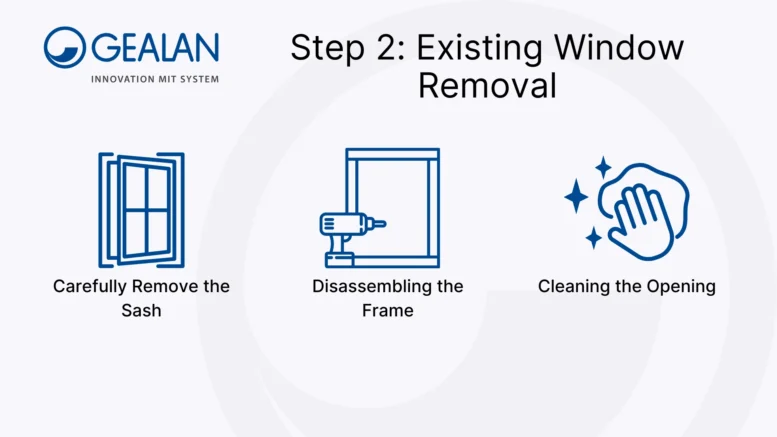
The first hands-on step in the process is carefully removing the existing window without damaging the surrounding areas.
- Carefully Remove Sash(es): The sash (the part of the window that holds the glass) is removed using tools like a utility knife, pry bar, or screwdriver, depending on the window type. Any screens or storm windows are also taken out.
- Disassembling the Frame: If it’s a full-frame replacement, the installer will take apart the old frame, including the window sill, side jambs, and interior or exterior trim.
- Cleaning the Opening: Once the old window is removed, the rough opening of debris is thoroughly cleaned. Installers check for structural issues, rot, or water damage and make any necessary repairs before moving forward.
Step 3: Preparing the Window Opening

A properly prepared opening sets the foundation for a successful window installation. This step ensures the new window fits perfectly and performs efficiently.
- Measuring the Rough Opening: Precision is key. Installers take exact measurements, using the smallest dimension to guarantee a snug, accurate fit.
- Applying Flashing Tape: Flashing tape is placed around the opening to create a watertight barrier, protecting your home from moisture infiltration.
- Leveling and Squaring: The installer verifies the opening is level and square, making any necessary adjustments to ensure the new window operates smoothly and seals tightly.
Step 4: Installing the New Window
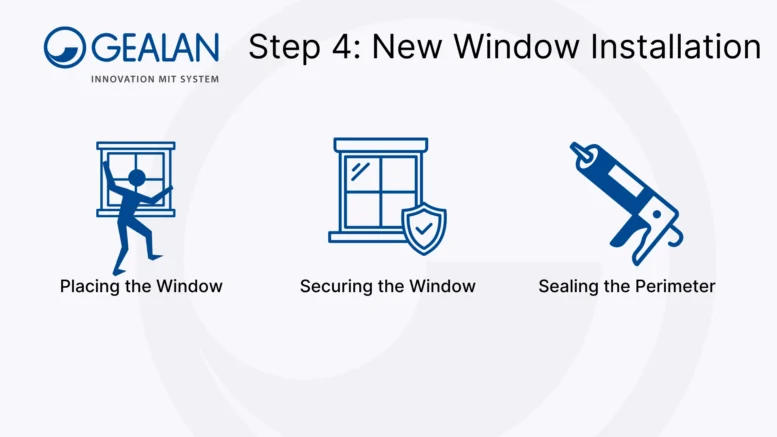
With the opening ready, it’s time to position and secure the new window.
- Positioning the Window: The new window unit is carefully inserted into the prepared opening, ensuring it’s level and plumb. Shims are used to fine-tune the alignment.
- Securing the Frame: Screws or nails attach the window securely to the frame. For full-frame replacements, the nail fin is fastened to the exterior sheathing.
- Sealing the Perimeter: High-quality caulk is applied around the edges to create an airtight and watertight seal, keeping drafts and water out.
Step 5: Adding Insulation and Trim

Insulation and trim provide the finishing touches that make your windows energy-efficient and visually seamless.
- Filling Gaps: Insulation, such as spray foam or fiberglass, is applied between the window and the frame to block drafts and improve efficiency.
- Installing Trim: Interior trim is reinstalled or replaced to blend with your home’s design, while exterior trim is added to complement the siding and create a polished look.
Step 6: Final Adjustments and Cleanup
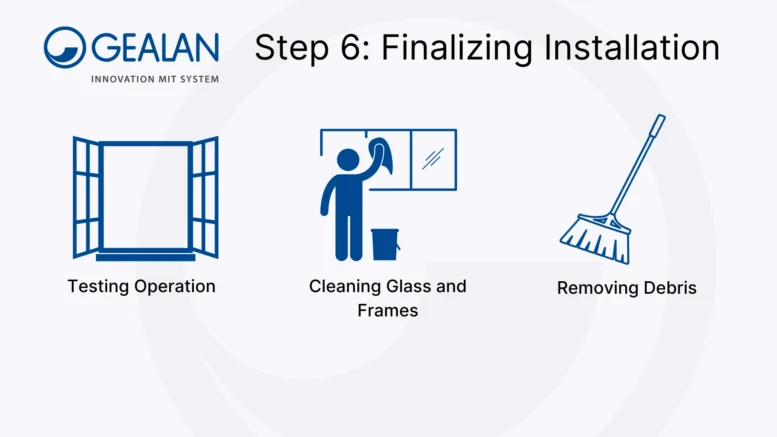
The final steps ensure your new windows are ready for everyday use and your space is left spotless.
- Testing the Windows: Installers check that the windows open, close, and lock effortlessly, ensuring everything functions as it should.
- Cleaning Glass and Frames: Windows are cleaned to remove dust, fingerprints, and adhesive, leaving them spotless and ready to enjoy.
- Removing Debris: All debris, including old windows and frame materials, is cleared away, leaving your home clean and refreshed.
Why Professional Installation Matters
While DIY installation might seem appealing, professional installers bring the expertise, tools, and knowledge needed to do the job right.
- Precision Workmanship: Professionals ensure your windows are level, insulated, and sealed properly, improving energy efficiency and longevity.
- Building Code Compliance: Certified installers adhere to local building codes and standards, avoiding potential issues down the road.
- Peace of Mind: With expert installation, you’ll enjoy windows that perform beautifully for years to come.
Energy Efficiency Benefits of New Windows
Modern replacement windows, like GEALAN-LINEAR are designed with energy efficiency in mind, offering:
- Improved Insulation: Low-E glass and insulated frames work together to maintain indoor temperatures, cutting down on heating and cooling costs.
- Reduced Air Leakage: Advanced sealing and weatherstripping keep drafts out, ensuring your home stays cozy no matter the season.
- Enhanced Comfort: Energy-efficient windows minimize heat gain and loss, improving overall comfort and lowering energy bills.
Get GEALAN’s Windows for a Hassle-Free Installation
Replacing your windows is more than just a cosmetic upgrade—it’s about improving energy efficiency, cutting down on noise, and creating a more comfortable space to live in. High-quality windows are an investment that pays off by keeping your home both stylish and functional for years to come.
At GEALAN, we design European-style uPVC windows with durability and energy efficiency in mind. Options like our S 8000 Series are crafted to handle everyday demands while making installation straightforward and hassle-free.
Whether you’re refreshing a single room or updating your entire home, GEALAN is here to help. From project planning tools to professional training, we provide the support you need to ensure your window installation is done right. Connect with GEALAN today to find a local supplier and explore our innovative window systems.
Table of Contents
FAQs
How long does it take to install new windows?
The time required to install new windows depends on the size of the project. A single window installation typically takes 1–2 hours, while replacing all the windows in a home can take a full day or more, depending on the number of windows and their complexity.
What’s the difference between full-frame and pocket window replacements?
- Full-Frame Replacement: This involves removing the entire window frame, including the sash and trim, and installing a completely new unit. It’s ideal for damaged frames or when changing the window style or size.
- Pocket Replacement (Insert Replacement): This method fits a new window into the existing frame, preserving the surrounding structure. It’s quicker and less invasive but relies on the current frame being in good condition.
Do new windows come with warranties?
Yes, most new windows include manufacturer warranties that cover materials and workmanship. Additionally, some installers may provide extra guarantees for their installation services. Always check warranty details before purchasing.
Can I replace windows during the winter?
Yes, window replacement can be done during winter. Installers take precautions to maintain indoor comfort, such as using insulated drop cloths, working quickly to seal gaps, and minimizing exposure to the cold during the process.
How can I prepare my home for window installation?
Remove window treatments, clear the area around the windows, and cover nearby furniture to protect it from dust and debris.